
Install Linux portably on a USB stick.
Windows can be installed portably as Windows ToGo. This allows the Windows system to be used portably, even on other computers.
Linux can also be installed on a USB stick. This works directly, as Linux basically does not care what type of data carrier it is installed on. In the example, we are using Linux Mint, but other Linux distributions also work.
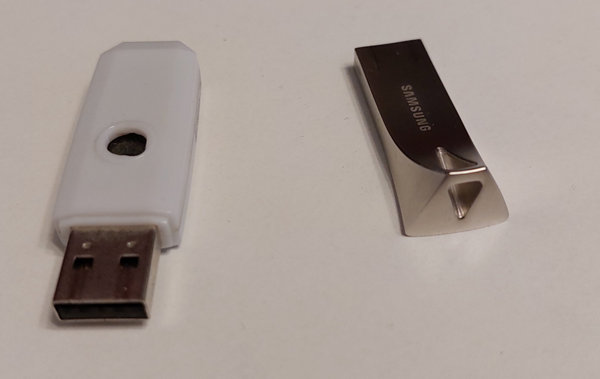
The preparation, two USB sticks
Let’s start with the USB sticks, we need two USB sticks. One as a Linux installation medium and one on which we install the Linux. Ideally, the USB stick should be large and fast enough for the target so that the Linux runs smoothly.
Disconnect the hard drive
We carry out the installation on a desktop computer. We recommend disconnecting the hard drive. This will prevent Linux from installing a boot loader on the hard drive and changing the boot of the original system.

Creating a Linux USB stick with Rufus
Now download the Linux ISO file. To create the USB stick, we use Rufus.
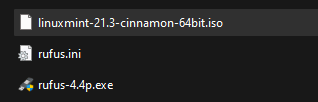
We start Rufus, select the USB stick and ISO file and start the process.

There are two queries, one for the creation type, here we select the DD mode. Then we are asked to confirm that all data on the stick will be deleted.
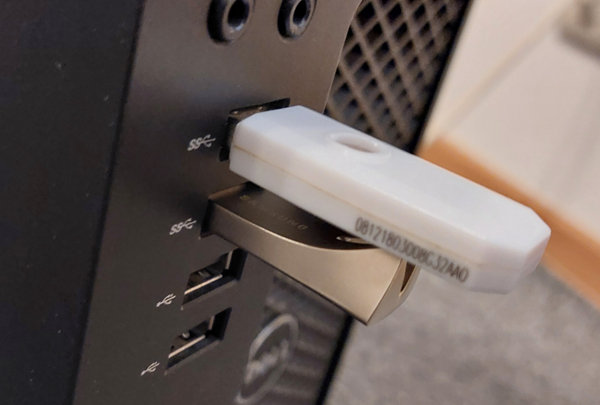
Installing Linux, booting the installation
Now we start the installation. We connect both USB sticks to the computer and start it.
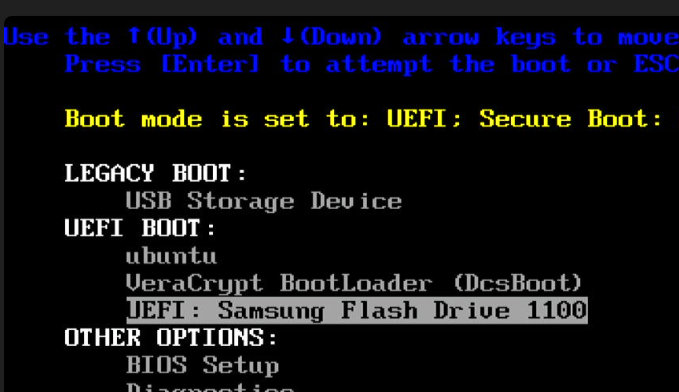
Now we call up the boot menu, on my Dell computer we do this with the F12 key. In my case, a warning appears that no hard drive is installed, but we can ignore this.

The boot menu appears. Here we now boot from the USB stick that we have just created.

The Grub menu should now appear. Either confirm briefly or wait until Linux starts automatically.

Linux will now start and our USB stick should also appear here. Important: do not eject it.

Installing Linux Mint
We now start the installation. I will not go into all the steps of the installation here. Simply carry out the first standard steps. You may be prompted to confirm that partitions on the USB stick are mounted. This refers to our target USB stick. Instinctively you would think that it makes sense to eject it, but in this case Linux cannot be installed on the stick.

The installation then begins. In the standard case, we simply select “Erase disk” or “Erase hard drive”. However, we should only do this if we have disconnected the internal hard drives.

Alternatively, we can take a closer look at the partitioning to see whether the correct data carrier has been selected.

If everything fits, we start the installation. You will be prompted again for confirmation.

The installation is now complete.

Once the installation is complete, we can remove the installation stick and restart the computer.
Starting the portable Linux
We can now connect the Linux to the target computer and start it via the boot menu.
Our Linux should then start as if it were installed on an internal hard drive. During tests, the Linux system worked without any problems on various computers, such as my Thinkpad, my desktop or even my netbook. Only the company laptop did not work.
Conclusion
A portable Linux is a practical thing. Similar to Windows ToGo, we can create a portable working environment here. With the exception of one computer, booting worked without any problems. However, it should be noted that a USB stick is not quite as “data-safe” as a hard drive. A regular backup is therefore essential.