Update for the memory test software Memtest86. This now also supports UEFI systems.
If the computer crashes sporadically, good advice is expensive. In most cases, the principle of elimination is used to find the cause. Is the CPU getting too warm? What about the GPU? Is the RAM OK?
At least with the latter question, the software “Memtest86” helped in the past. Booted from a USB stick or CD or DVD, the software allows you to test the computer’s RAM. If the computer’s memory is faulty, the software indicates this.
Until now, the software was not compatible with modern computers. The reason was that only the old Bios mode was supported. The new version of the tool now allows use on UEFI-compatible computers.
Download of the Software
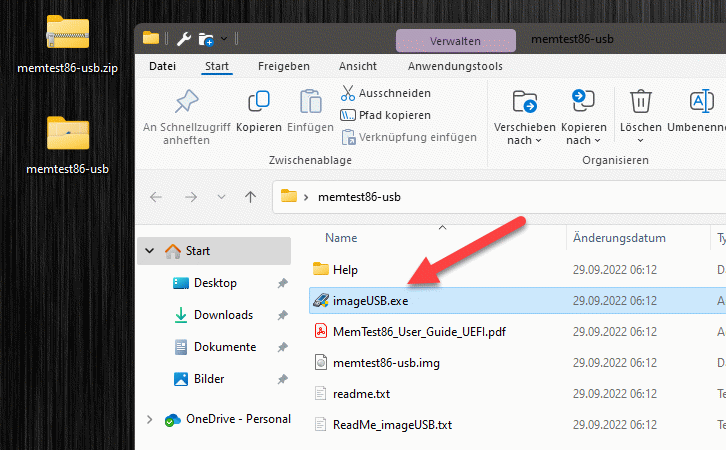
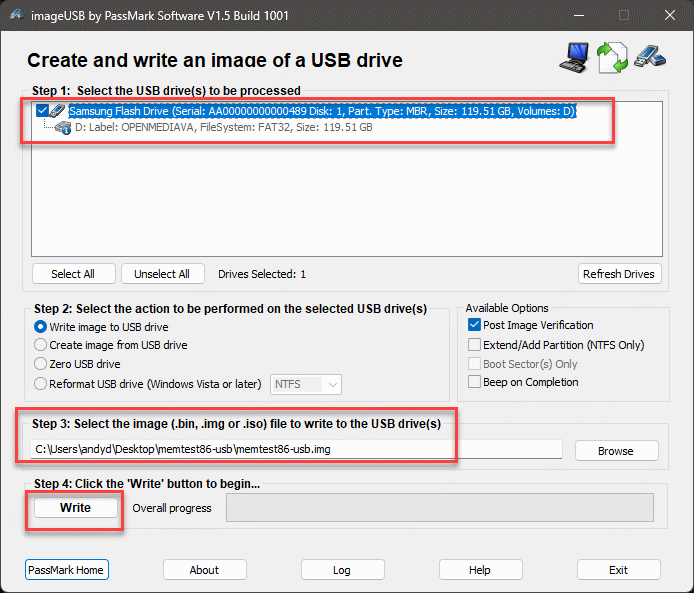
The download of the software is refreshingly small. The download is barely 10 MB in size. On the positive side, the download already contains software to create the USB stick. To do this, we simply start the software and select the USB stick.
Two warnings will appear, informing us that the data on the USB stick will be deleted during the action. If there is still important data on the USB, it is better to back it up beforehand.
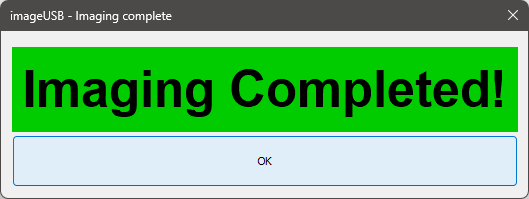
After a short time, the USB stick is created.
Boot from USB drive
We can now use the USB stick on the target computer. We call up the boot menu and start from the USB stick.
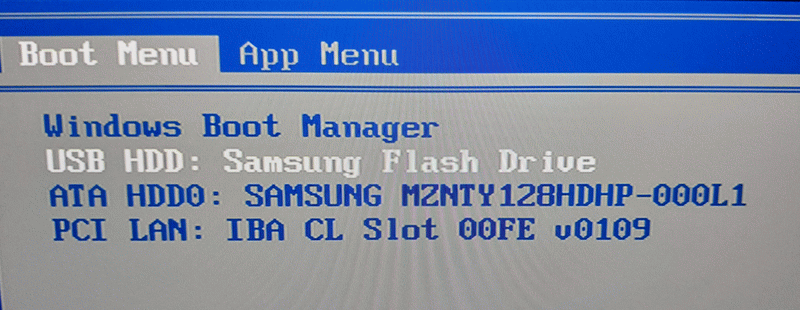
After a short wait, the menu appears, here we do not need to do anything by default, after a short wait the memory test starts automatically.

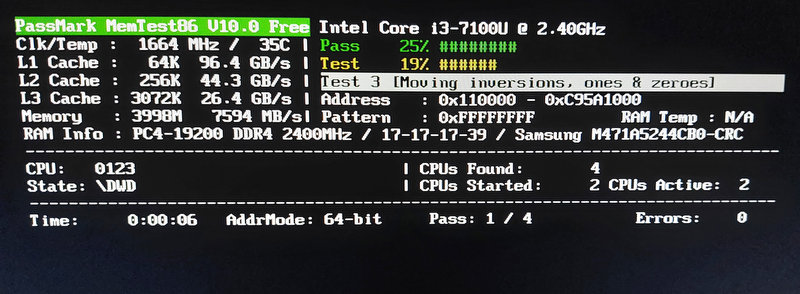
Run memory test
Various tests are carried out. If errors occur, they are displayed. In this case, it is a good idea to replace the computer’s memory.
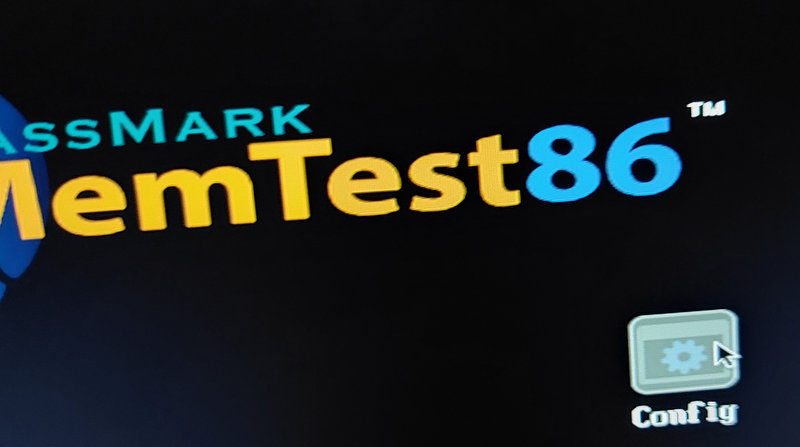
Extended configuration
In addition to the standard test, the software also allows various configuration options. To do this, we click on “Config” when starting the software.
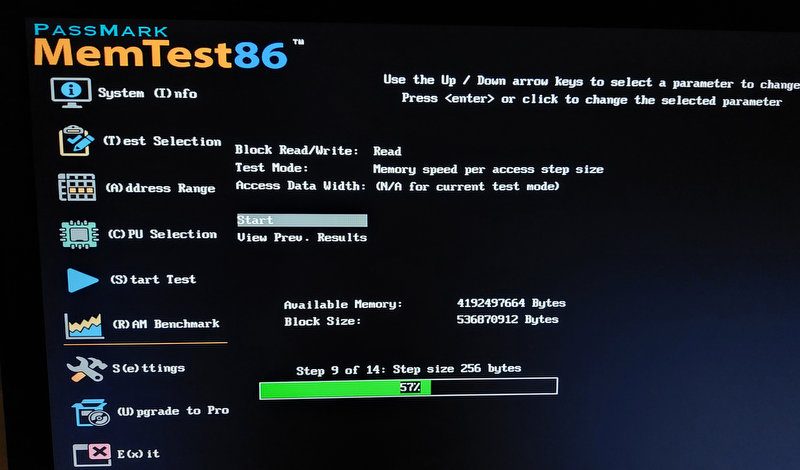
In the configuration menu, information about the system can be requested, e.g. CPU information or information about the working memory. Specific tests can also be started. As a rule, however, this is not necessary.
Memory test Microsoft Surface
Things get a little more complicated when we use special hardware such as the Microsoft Surface. Here, booting directly from the USB stick is not quite so simple.
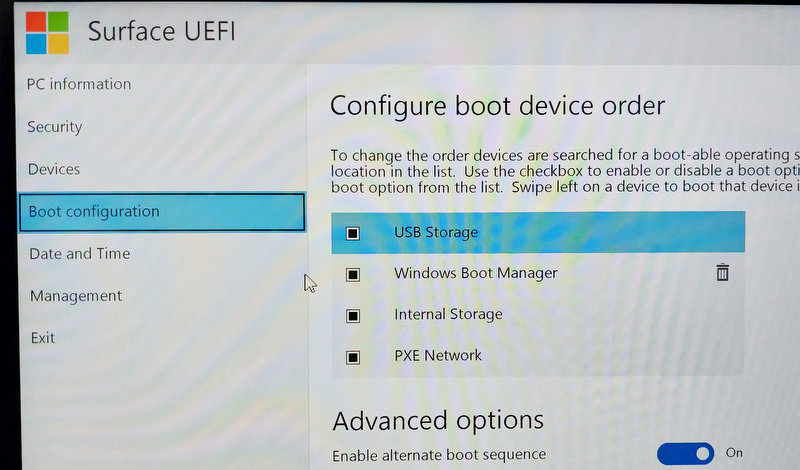
First we need to call the UEFI system of the system. In the first step, we change the boot order and set USB to the first position.
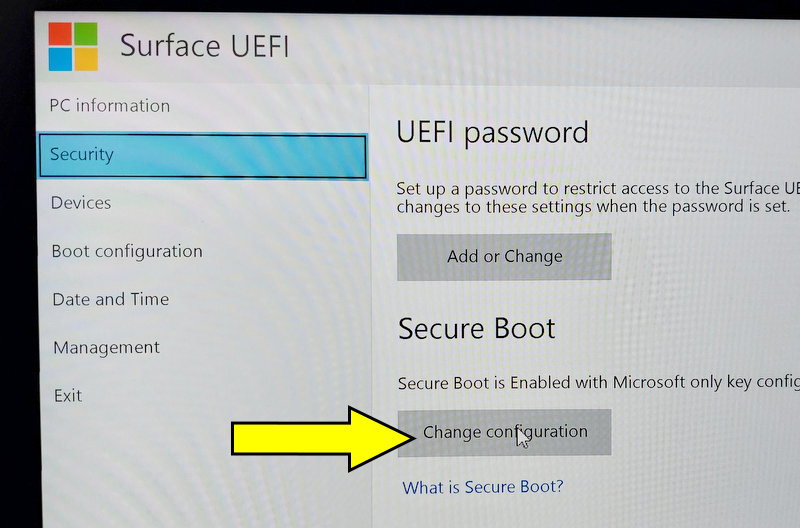
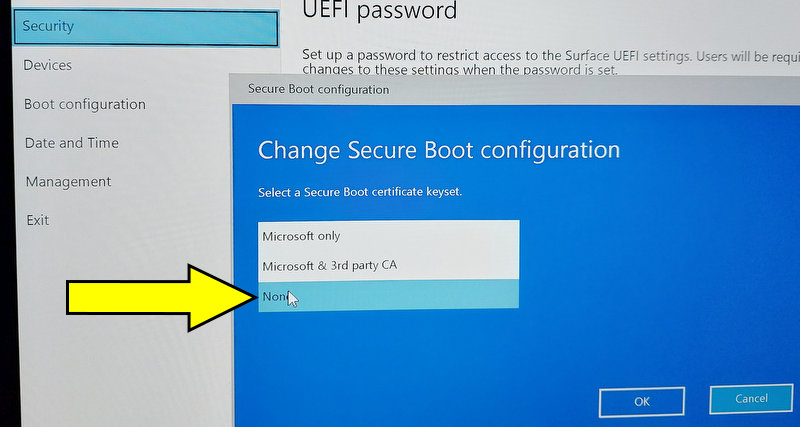
That’s not all, we also have to deactivate the Secure Boot. Then we restart the system. If we have plugged in the USB stick from Memtest86, we should boot from it the next time we reboot.
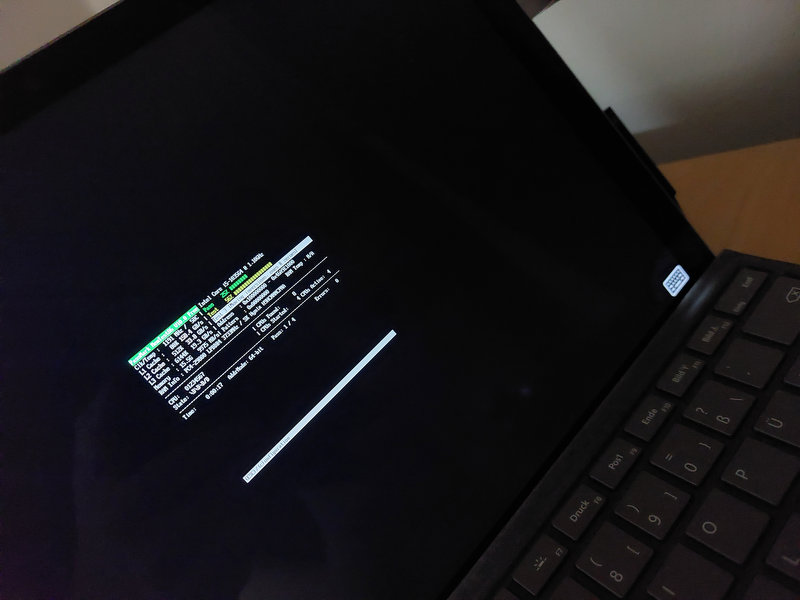
From here the procedure is the same, the memory test is carried out automatically.
After completing the memory test, we should reactivate the secure boot. A small note for Bitlocker users, due to the change to the system, the Bitlocker recovery key will be required the next time Windows is started.
Conclusion
.
With the new version of Memtest86, a variant for UEFI-compatible devices is finally available. Although in the past one could activate the BIOS mode or legacy boot, this no longer worked for all devices.
By the way, the new version only works for UEFI devices. For older devices with classic bios, the old version of Memtest86 is still recommended.