
If I take photos or videos for the blog with my smartphone, then I have to transfer them to the computer. The easiest way to do this is with the numerous cloud services such as Dropbox or OneDrive. However, everything must first be transferred to the provider on the Internet and then downloaded again on the PC or notebook.
On the one hand, this is not conducive to data protection and, especially with videos, the process is often a very lengthy one, as there is little upload available.
Therefore, I was looking for a solution to copy photos or videos as easily as possible directly in the network to a file share or a NAS folder. There is an app for everything, you just have to find the right one. In my case, I found the free app SMBSync2, which does the job with flying colors. The app is suitable for all tasks to synchronize files from A to B. This can be a NAS or network share, but also a regular backup from the internal storage to the SD card is possible.
Setup SMBSync2
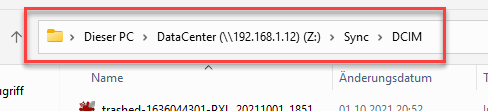
The first step is to install the app on your Android device. In our example, I want to synchronize the photo folder from the Android phone with the following folder from my SMB share.
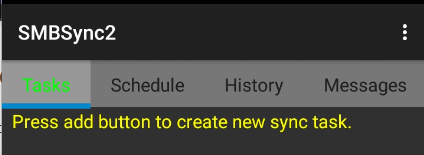
After starting the application, we have to create a new sync task. You can create multiple tasks, each task syncing a folder pair.
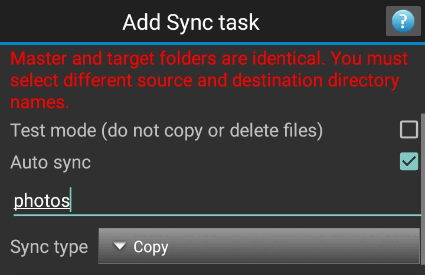
Each task gets a name, in our example we use “photos2 since we want to copy over our photos from the Android device to the NAS server. You can also select a sync type. You can copy the files (just copy new files over), mirror (keep both side in sync), and move (move files over).
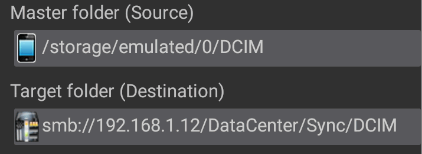
After that, we need to define the source folder and the destination folder. The source folder ist our photo folder from the phone, the target folder is our NAS folder.
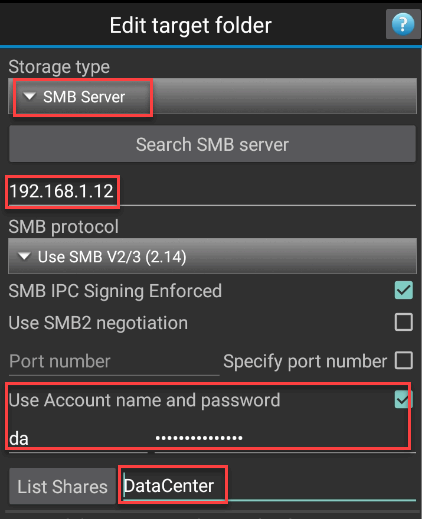
For syncing with a Windows SMB share, we have to select SMB server. Enter the server name or IP address. Most servers will require some authentication, so select “Use Account name and password” and enter username and password for the connection.
Now you have to select a share, either enter the name or click “List shares”. If the connection to the server is successful, the servers shares should be shown.
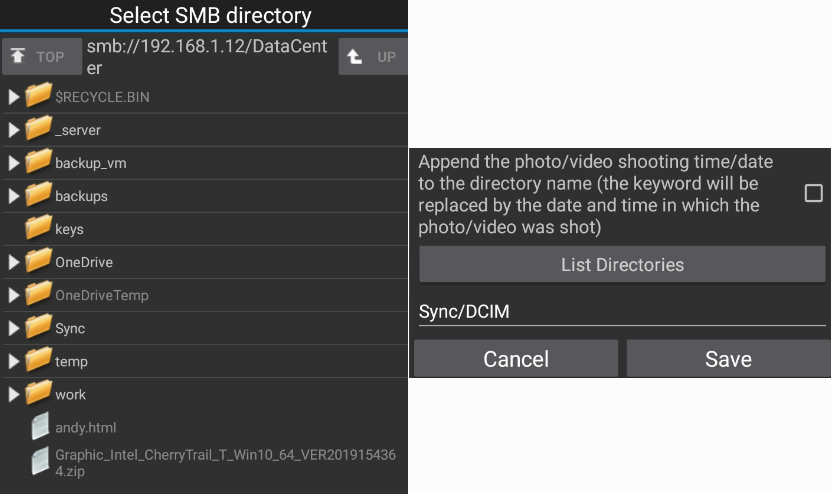
In the last step, we have to select the target folder from our server. You can browse the server and select the destination folder.
There are more sync options in the task settings, but we are good for now. Click OK to create the task. The task will now show up in the task list.
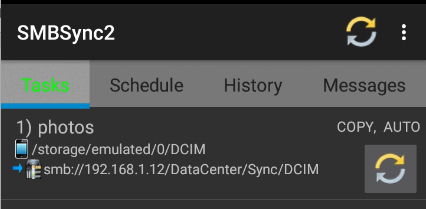
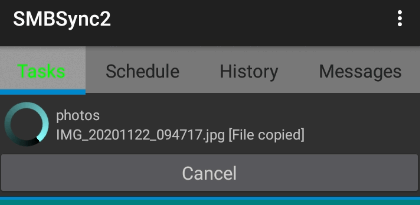
You can manually start the task now, the files will be synchronized to your NAS server. Next to manual running the task, you can also schedule the task.
Hello,
the app works, however, I usually upload my picture to SMB share and then process it further.
The software keeps on coping deleted pictures.
A single-upload would be nice.
Thanks!
the app not existing anymore 🙁
Yeah, its no longer available, but you can install it manually:
https://ekiwi-blog.de/en/52012/smbsync2-install-as-apk-package-on-android-13-and-higher/