How to install the Linux Subsystem in Windows 11.
Microsoft allows using Linux in Windows, for example you can use Ubuntu, Debian, Suse and other Linux distributions directly in Windows. This is possible since Windows 10. The process has changed slightly in Windows 11.
Video tutorial
Install Linux from the Microsoft store
The first step is to install the Linux distribution of your choice from the Microsoft store. If you can not use the store, for example in a company environment, you can use the manual installation method.
In most cases, the installation will fail with an error message.
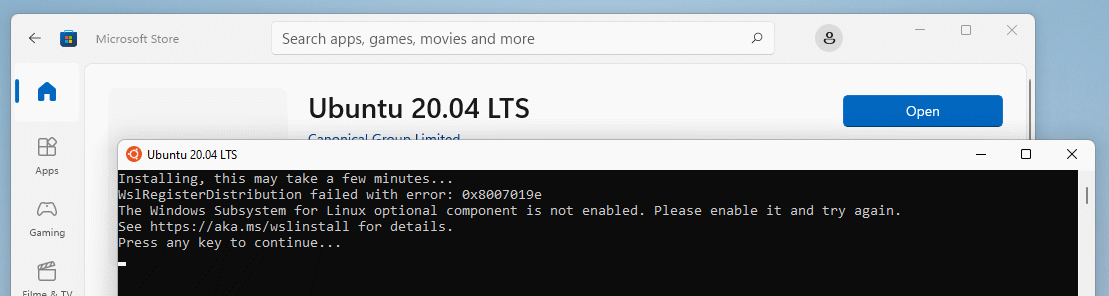
WslRegisterDistribution failed with error: 0x8007019e
The Windows Subsystem for Linux optional component is not enabled. Please enable it and try again.
See https://aka.ms/wslinstall for details.
Install optional components for the Linux subsystem
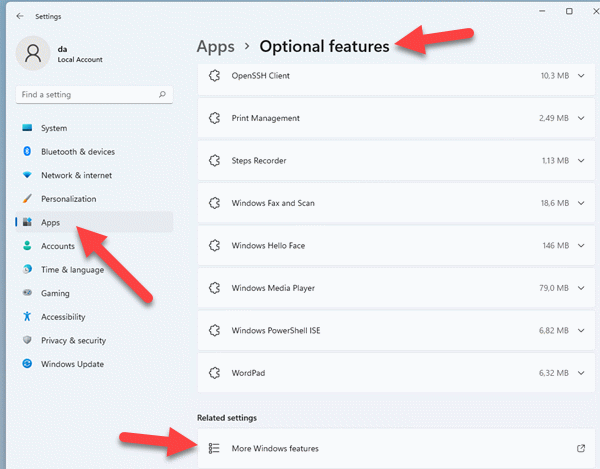
In the settings app, go to apps and optional features. Scroll down until you find “More Windows features”.
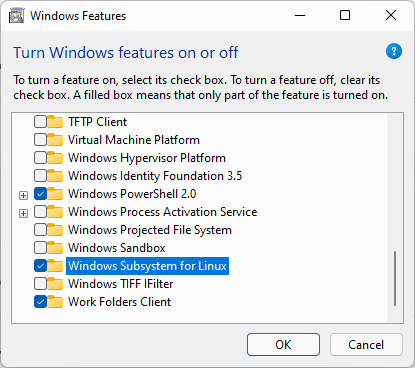
Thie will open a window where we have to select “Windows Subsystem for Linux”. You have to also install Hyper-V, otherwise we will get another error messag. We will get to that.
A restart is required, after that we can start Linux again from the start menu. We will now get another error message.

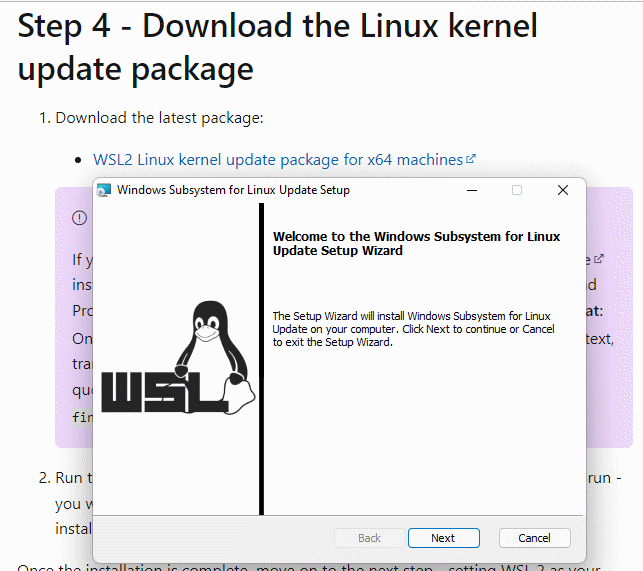
WslRegisterDistribution failed with error: 0x800701bc
Error: 0x800701bc WSL 2 requires an update to its kernel component. For information please visit
We have to download another optional component. Just download the installer and install it.
Once we have installed the package, we can try again and start Linux. If we have installed Hyper-V this should work, otherwise we get the following error message.

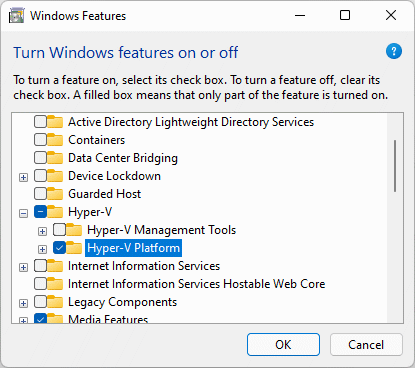
WslRegisterDistribution failed with error: 0x80370102
Error: 0x80370102 The virtual machine could not be started because a required feature is not installed.
In that case we have to install “Hyper-V Platform” in the optional features window.
Another restart is required. After that the Linux system should run and we are now able to configure username and password.
