Windows installed several times on one computer. How do I remove entries from the Windows boot manager?
Instruction
If you install Windows several times on a computer, Windows automatically creates a boot menu. When starting, you can then choose which Windows to start.

If you remove a Windows from the system, e.g. by deleting the partitions, you also want to remove it from the boot menu.
This can be done very easily with the tool “msconfig”, which is on board with Windows. To start the tool, we can open the run dialogue with the “Windows key + R”. Enter “msconfig” and confirm with Enter.

After the start, we switch to the “Start” tab. Here we can see all entries of the boot menu. Here we can easily delete superfluous entries.
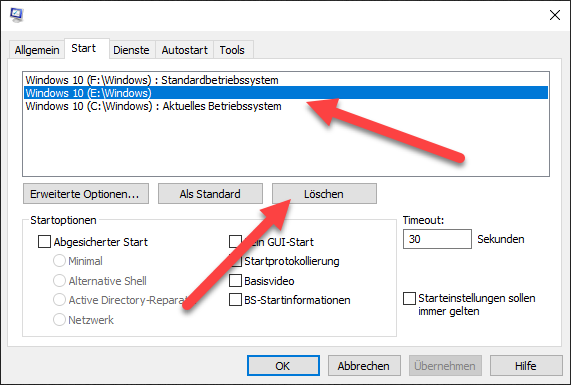
The entry disappears.

We accept the setting with OK, Windows now prompts us to restart.

After the restart, the deleted entry is no longer part of the boot menu.

Deleting the old Windows partitions
If the Windows has not yet been completely removed, we can now delete the Windows partitions. To do this, we call up the disk management.

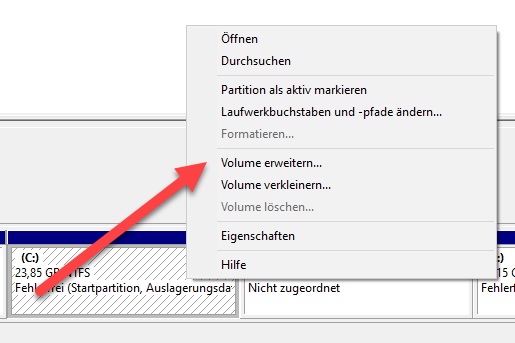
Here we find the partitions with the different Windows installations. Here we can delete the partition that is no longer needed. We can find out which one by comparing the drive letters with “msconfig”.

In our case it is the e:\ partition, which we now delete. To do this, we right-click on the partition and delete it.

The new freed memory can be used to create a new drive or the existing Windows partition can be extended.