More storage space for Windows, less for Linux.
In one of our articles, I showed how Linux can be allocated more memory. Today it’s the other way round, more memory for Windows, less for Linux.
One more note: be sure to create a backup of your data before you start. Although the variant shown here works without data loss or reinstallation, better safe than sorry. Something can always go wrong.
Video
Splitting the partitions
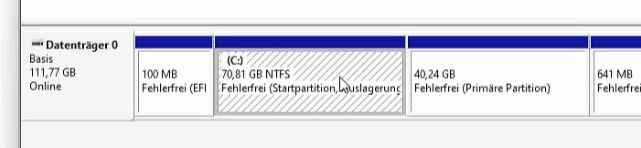
Windows and Linux are both installed on the same hard drive or SSD. I was a little too generous with Linux, now the Windows system is missing memory.

Create USB stick with Gparted
We use the free Gparted programme for partitioning. To do this, we need a USB stick, on which we install the system and then start it from the USB stick.
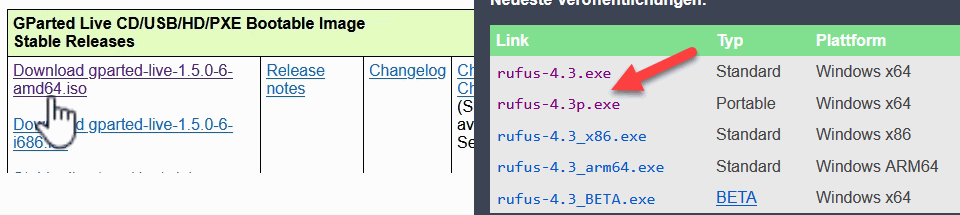
Download the software
First, we download Gparted from the project page. We use the AMD64 version here. To create the USB stick, we use Rufus. Here we can download the portable version, which does not require installation.
Create USB stick with Rufus
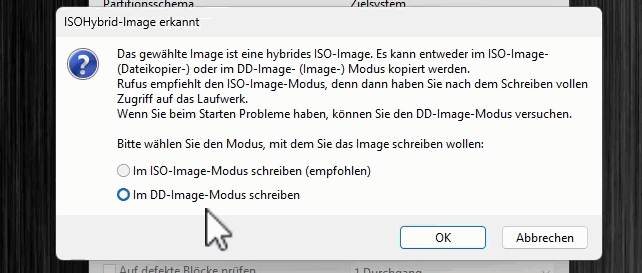
We now start Rufus, select the USB drive and the ISO file. Leave the rest of the options as they are and click on Start.
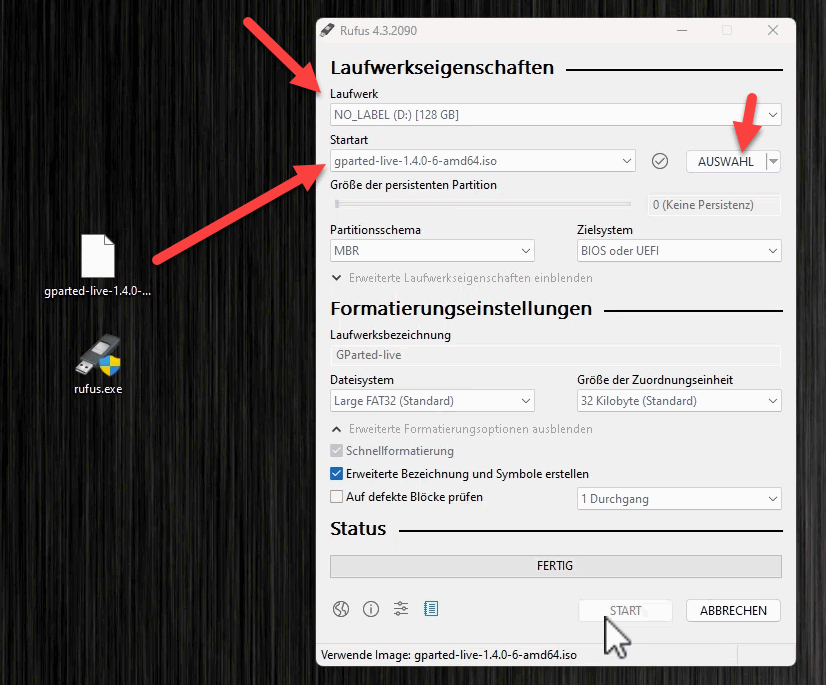
There are various questions and warnings. We write the image in DD mode. All existing data on the USB stick will be deleted.
Booting from USB
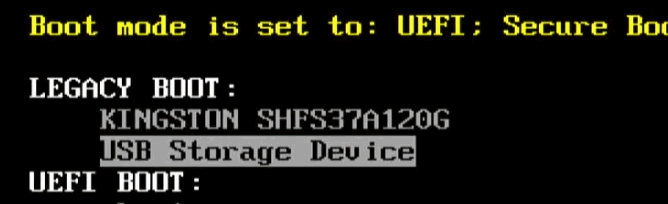
Once the stick has been created, we boot it. We restart our system and call up the boot menu. Depending on the computer, a special key must be pressed at startup. ESC, F2, F10, F11, F12 are candidates. We then select the USB stick.
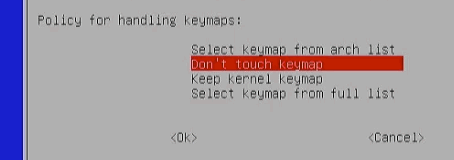
Various questions appear before the start. These can usually be confirmed with a simple Enter.
Partitioning hard drives
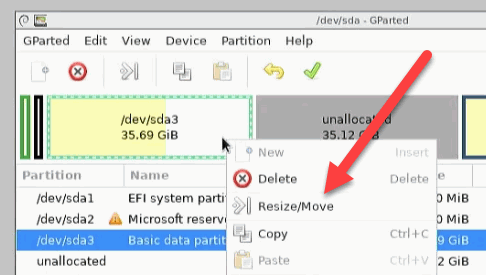
After starting the system, Gparted is also called up immediately. We can now customise the individual partitions. We start with the Linux partition.

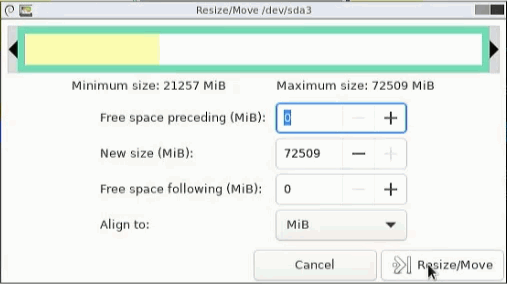
We drag the partition to the right and adjust the size.
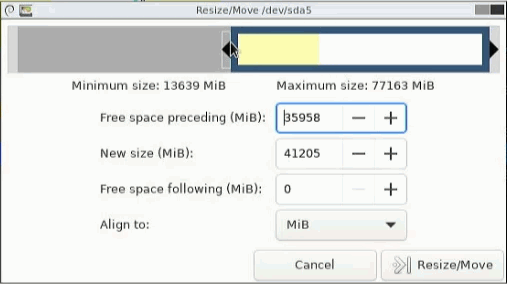
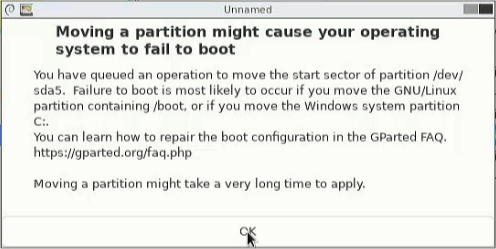
A warning is displayed, which we must confirm.
After the customisation, it’s now time for the Windows partition.
We increase this by the free memory.
Once this is done, we can apply the changes by clicking on the green tick.

As soon as we confirm this, Gparted starts with the actual work. Data is moved and the partitions are adjusted. Depending on the size of the data, the process takes a few minutes.

Conclusion
Once this is done, we can restart the computer. More memory is now available for Windows.