Windows urges users to set up a Microsoft account for use. To install Windows 11 with a local account.
Microsoft wants us to set up and use Microsoft accounts. In the Pro versions, the account requirement can still be circumvented, but in the Home version, Microsoft insists on a Microsoft account. The reason for this is probably that it allows them to sell the user a cloud subscription or things in the store.
With the free software Rufus, however, it is also possible to install the Home version with a local account. The instructions also work for the Pro version.
Video
Creating a bootable USB stick with Rufus
First, we create a bootable USB stick. We need the Rufus software and a Windows 11 ISO file. We can download the ISO file from the Windows 11 download page.
We can download Rufus as a portable version from the Rufus homepage.

Now we start Rufus, select the drive and the ISO file. Then we click on Start. A window appears, here we can now specify that we do not want to use a Microsoft account and can also immediately specify a name for the local account.
For older computers, we can also check the system requirements, such as Secure Boot, TPM 2.0 and RAM. If the setting is activated, we can also install Windows 11 on unsupported systems.

Perform installation
Once the stick is created, we can now use it to install. We call the boot menu of the computer, on my computer this is done with F12, otherwise it is usually the keys F2, Del, F10 or F11. Alternatively, we change the boot order in the Bios/Uefi.

The installation starts normally. We do not go into all the steps here. To start the installation, enter the product key if available. If no key at hand, we select the appropriate version of Windows 11.

During the installation, we choose customised.
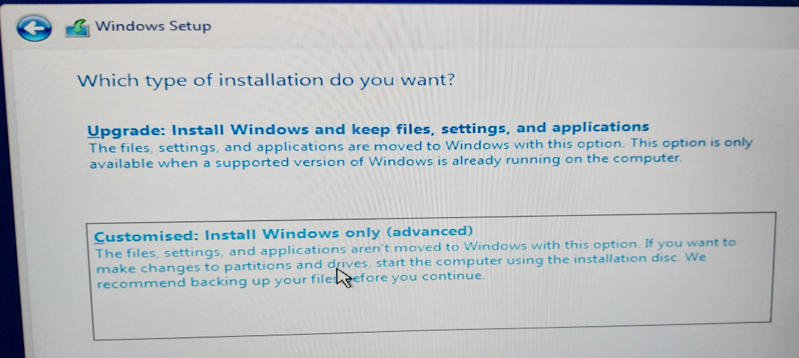
If there are partitions, we can delete them, of course only if there are no important data on the computer. Then we start the installation.

Windows 11 is installed, the computer restarts, and we end up in the setup wizard. Here, we simply go through the steps and select the desired settings. Some settings appear twice, which is due to the fact that the local user is automatically set up, and the settings here have to be partially performed again.

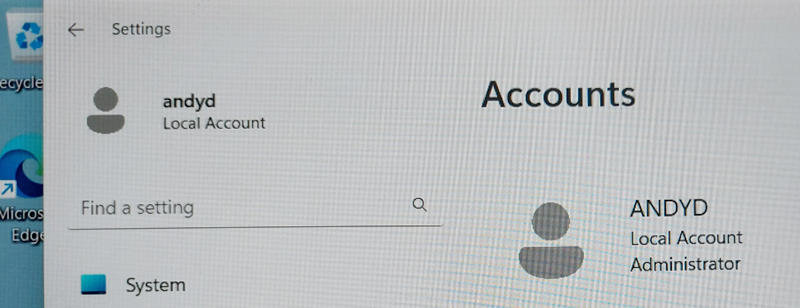
Once we have completed all the steps, we arrive at the Windows desktop. A look at the settings reveals that we are now using a local account. It is possible to switch to a Microsoft account at any time later.