There are various ways to activate Remote Desktop on a Windows computer. The manual and intuitive way is to go through the settings (Settings > System > Remote Desktop). However, there are situations where you want to automate the activation and deactivation of Remote Desktop, for example because you want to roll it out to many different computers or because the activation or deactivation is a component in a script (*.ps1) of many other instructions. The following shows the required commands (cmdlet) including parameters to enable or disable Remote Desktop.
Prerequisites
- A Windows computer with administrator rights
- PowerShell installed on your computer (available by default on Windows systems)
Activating Remote Desktop with PowerShell
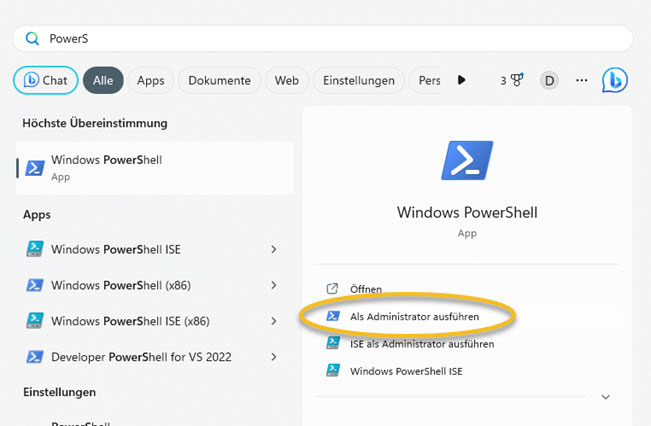
- Open PowerShell with administrator privileges:
- Click on Start, search for “PowerShell“, right-click on “Windows PowerShell” and select “Run as Administrator“.
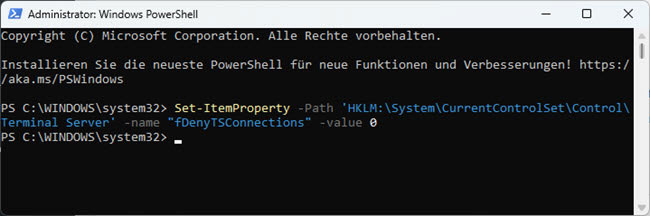
- Activate the Remote Desktop feature by typing the following command and pressing Enter:
Set-ItemProperty -path 'HKLM:\System\CurrentControlSet\Control\Terminal Server' -name "fDenyTSConnections" -value 0 - It worked the same way for me. But you may still need to adjust the firewall rules. This can be done with the following command:
Enable-NetFirewallRule -DisplayGroup 'Remote Desktop'
Disabling Remote Desktop with PowerShell
- Open PowerShell with administrator privileges as described in step 1 above.
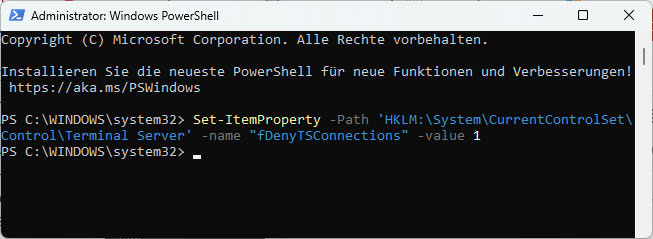
- Disable the remote desktop feature by typing the following command and pressing Enter:
Set-ItemProperty -Path 'HKLM:\System\CurrentControlSet\Control\Terminal Server' -name "fDenyTSConnections" -value 1 - Once again, disable the associated firewall rules as required:
Disable-NetFirewallRule -DisplayGroup 'Remote Desktop'