
Linux in dual boot with Windows a little too much memory reserved? No problem with GParted we can shrink the Linux partition and give Windows more space.
If you install Linux alongside Windows, you can specify during the installation how much disk space is available for each operating system. The Linux installer partitions the hard disk, sets up a boot loader and both operating systems run in parallel.
The partitioning is fixed for now. If you find that the disk space for a system is no longer sufficient, you can use GParted to change the partitioning afterwards. So here on the blog, we’ve already looked at how we can retroactively increase the Linux partition. But does the reverse also work? More memory for Windows, less for Linux? Yes, that is possible, GParted helps us here as well.
Note: Be sure to create a backup of your system before performing the actions.
Video
Instructions
In our system we have Windows and Linux installed in parallel. The current distribution of the storage space is as follows.

Linux should get less memory and Windows should be allocated the memory that becomes free. Of course, you can only free the memory that is not currently occupied in the Linux system.
Create GParted USB boot stick
First, we download GParted as an ISO file from the manufacturer’s homepage.
Download and creation of the USB stick we have already described in the following article:
Shrink partitions with GParted
Afterwards we boot the USB stick, for this we call the boot menu of the computer and start from the USB stick. If this works, the boot menu appears. Here we confirm the first option with Enter.

A few general settings follow, these concern the language and input.

After a little wait, the interface of Gparted starts. Here we can see the current partitioning of our hard disk. The first is our Windows partition, the second our Linux partition.

Now we can shrink the Linux partition in the first step. To do this, we select the appropriate option from the context menu.
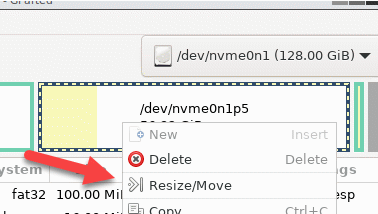
We now shrink the partition from the beginning to the right by the desired size.

When finished, we confirm with “Resize/Move”. We receive a warning, which reminds us to backup, in case something does go wrong.

After that we have free space between the partitions.

We can now extend the Windows partition by this. The procedure is similar. Here we also change the size.
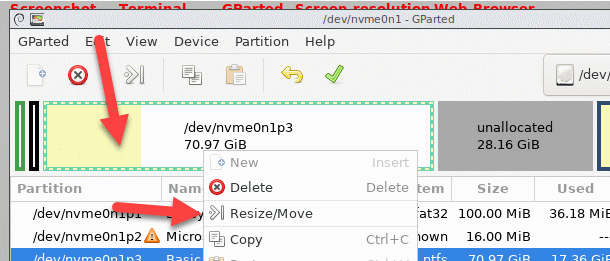
We now enlarge the Windows partition by the entire free space to the right.

Done! The result should now look something like this. The Windows partition is larger and the Linux partition is smaller.

Nothing has happened yet, the changes have not been applied. If you change your mind, you can always cancel and start over.
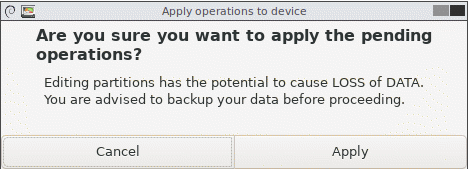
Only when you select the function “Execute all operations” in the “Edit” menu, the changes are applied and the partitions are moved.

A warning is issued, which we confirm.
Now it gets serious, GParted now performs the changes. Data is moved, partitions are shrunk and enlarged.
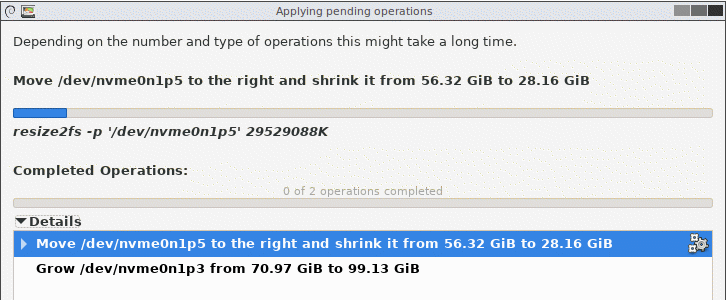
The process takes a little time, depending on how fast your computer is and how many gigabytes have to be shifted back and forth.
After the operations are finished, GParted reports completion.
Now comes the exciting moment, we can now exit GParted and restart the computer. The Linux grub boot menu should now appear again and both Windows and Linux should now boot.
Windows now has more disk space available, which we can check via Disk Management.
