
There are situations in which you need the images of a Word file as an image file, for example in jpeg or png format, in order to further use or process the images. However, this is quite cumbersome if the Word file contains many pictures and you have to save each picture separately. Therefore, two ways of saving all the images in a Word file at the same time are shown here.
Example of a Word file with many pictures
The classic procedure would be to select each image in the Word file and then right-click and select “Save as Picture…” to save the image file under the desired path.
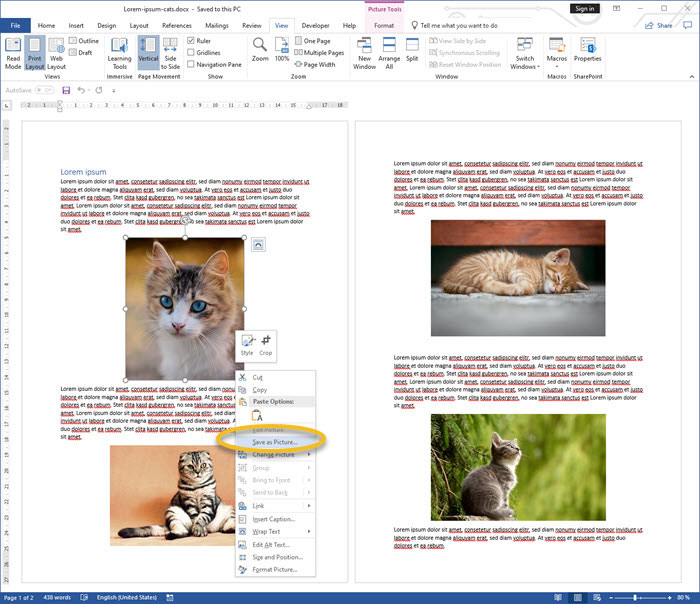
Here we see an example of a Word file with four cat pictures. We now want to save these four pictures at once using the following methods.
Method 1: Save Word file as web page
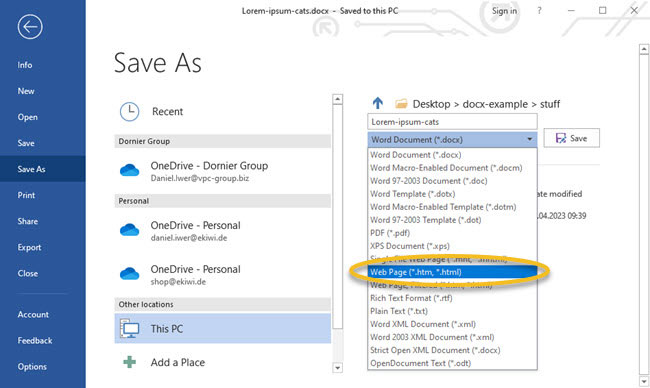
To do this, in Microsoft Word go to “File” 🠊 “Save as”. Select “Web Page (*htm, *html)” for the file format and then click on the “Save” button. Before doing this, of course, select the storage location.
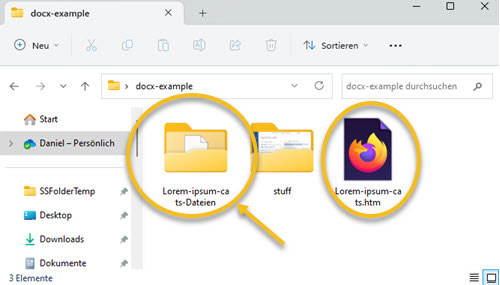
Next, go to Windows Explorer and find the path where you saved the HTML file. There, you will find an additional folder that starts with the same name as the HTML file. All the additional files needed for the HTML presentation are stored in this folder, including all the image files of the Word file.
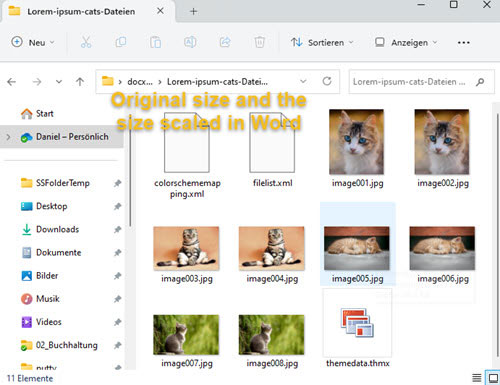
If you open this file folder, you will see all the pictures of the Word document. Interestingly, the pictures seem to be duplicated. This is because the pictures were saved once in the original size and once in the scaled size. The scaled size corresponds to the size when the image file was enlarged and reduced within the Word document.
You can now dispose of these images as you wish, copy them, save them somewhere else, edit them, etc.
Method 2: Rename Word file to ZIP file
What may not be known to everyone is that the current Word file format “docx” is a zip file in which many other files needed for the presentation of the document are stored in a structured way, whereby the XML format is also used.
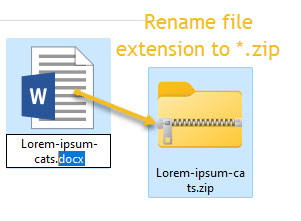
For this reason, one can convert the Word file into a Zip file. To do this, simply right-click and “Rename” on the Word file to change the file extension to “zip”.
If you want to be sure, you can copy the Word file first and then rename it. This way, the Word file is still available and will not be damaged.
Now you can either navigate directly into the ZIP file under Windows or unpack the ZIP file with an appropriate program. Then navigate to the folders “word” 🠊 “media”
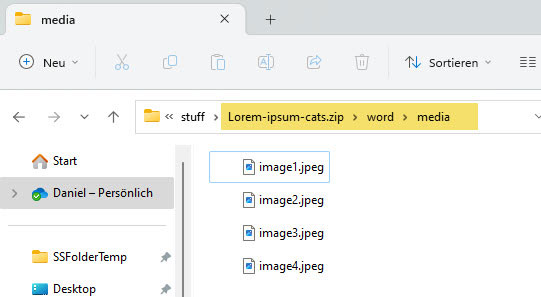
In the media folder you will find all the pictures of the Word document. These can then be copied for further use, for example, by right-clicking and pasting them elsewhere.