
In everyday office work with Excel it can happen that you receive an Excel file in which pictures are inserted. If you want to save these pictures as an image file, e.g. *.jpeg or *.png, you have a problem.
Save as image file not possible
Unfortunately, Excel does not offer a direct way to save one or more images inserted into the Excel document. In Word, for example, this is easily possible by right-clicking on the image and then selecting “Save as graphic…. In Excel, unfortunately, this function is missing in the context menu.
In the following we show four possibilities to save the picture of the Excel document locally nevertheless.
Procedure 1: Copy and paste image
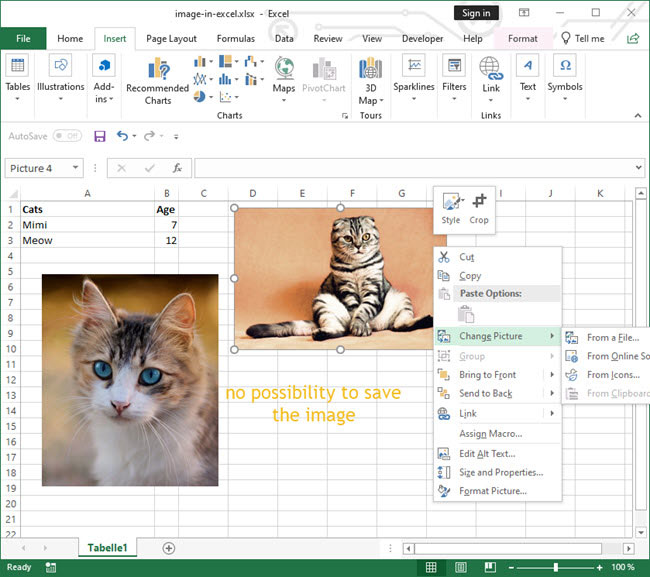
With this method, you also right-click on the image in question to select it. In the context menu that then opens, select “Copy”.
Then open a graphics program of your choice, in our example the Windows program “Paint” was started. There you can paste the copied image or directly via the key combination “Ctrl+V”.

Now the image can be saved via “File” 🠊 “Save as” in any image format as a JPG or PNG file in a local folder. It is quicker again with the key combination “Ctrl+S”.
Procedure 2: Rename Excel file to Zip file
Many people are probably not aware that modern Office file formats, such as an Excel file, are actually many individual files and folders packed into a ZIP file. For this reason, you can simply rename the Excel document in which the inserted pictures are located into a ZIP file. This is also excellent for saving all the images of an Office document, such as Word, at once and making them available for further processing.
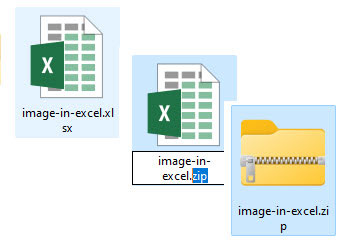
To do this, first use the rename function (right-click on the file in Windows Explorer) to change the file extension from “xlsx” to “zip”. If necessary, simply copy the Excel file before renaming it, if you are worried about damaging the original file in some way.
You can then unzip the zip file or navigate directly within the zip file. Under the folder path “xl/media” you will then find all the image files contained in the Excel document and can copy out the images you need.

Now the image or images can be used like any other image file on the computer.
Procedure 3: Take screenshot/screen capture
Admittedly, this is not the prettiest method and is similar in some ways to Procedure 1. But there is still the option of taking a screenshot and then pasting the screen capture into a graphics program such as “Paint”.
You can take a screenshot with the press key. This will take a picture of the entire screen and paste it into the clipboard. With “Ctrl+V” you can now paste it into Paint as described above. The disadvantage is that you have first captured the entire screen and then have to crop the image to the desired image in the Excel program.
Alternatively, you can use the “Snipping Tool”, which is installed by default under Windows. Simply enter “Snipping…” in the Windows search and open the “Snipping Tool”.

In the “Snipping Tool” then click on “New” and then with the mouse button held down, drag the frame to capture around the desired image in the Excel file. When you release the mouse button, the image of the drawn frame is copied to the clipboard.

Now you can paste the image from the clipboard back into any graphics program as described above and save it there as an image file.
Procedure 4: Save as web page
Many roads lead to Rome, and so there is another workaround. The Excel document in question can also be saved as an HTML page.
To do this, go to “File” 🠊 “Save as” and select “Web page (*.htm, *.html)” as the file type, give it a suitable name and select the desired storage location.

Under the chosen storage path, you will then find a htm-file as well as an associated folder containing all other files, including the image files, that are needed to display the Excel document as a web page.

If you now open the relevant folder, you will find the pictures contained in the Excel document in file format and can copy them for further use.

As you can see, the original files are saved on one side and a merged file of the images on the other side. This was done by Excel so that the presentation as a web page is exactly the same as in the Excel file.